

Vaporesso Xros Pro 2 UK
In February 2024, I pitched an idea for my first product review here at Vape Club. I wanted to write a review of the Vaporesso Xros Pro kit, which was new at the time, because I’d bought one myself and I was really impressed. A year and a half later, I find myself in a similar position with the release of the Xros Pro 2 – another entry into Vaporesso’s best-selling Xros series.
But, what is it about this simple pod kit that had me snapping one up as soon as it hit our shelves? Have Vaporesso managed to improve on the original and popular Xros Pro? Are their new mesh coils really improving flavour that much? Read on to find out!
Who Is The Xros Pro 2 For?
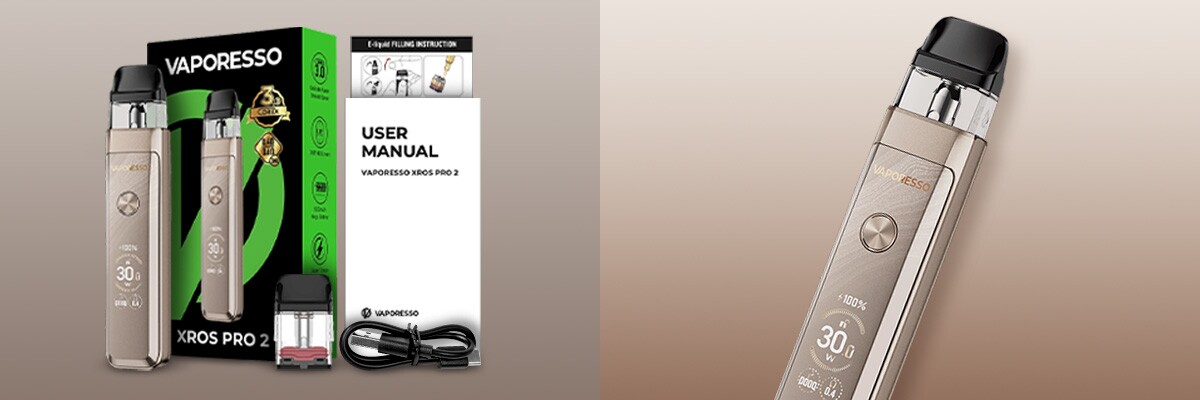
On the face of it, the Xros Pro 2 looks like a basic refillable kit. But, don’t let appearances deceive you. With this kit you can do everything from adjusting the power output, through to controlling the flow of vapour for a tighter or looser inhale.
The best thing of all is that all this “customisation” is strictly optional and if you’re looking to just get on with vaping – you can. Fill up a pod, plug it into the device and the Pro 2 is ready to vape.
With all this in mind, yes, we recommend the Xros Pro 2 if you’re looking for a bit more control over your vape. However, it also works very well as a simpler refillable kit – ideal if you’re making the leap from either smoking or prefilled devices.
How Does The Xros Pro 2 Look And Feel?
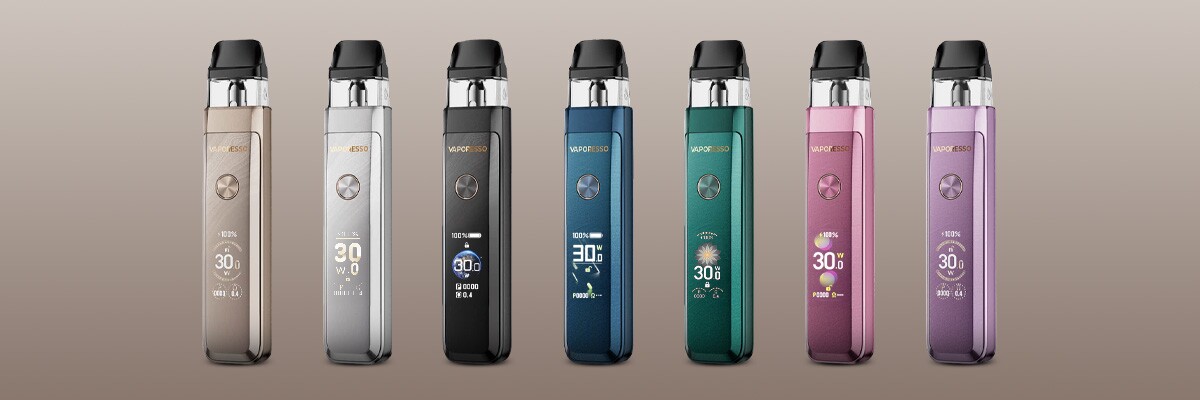
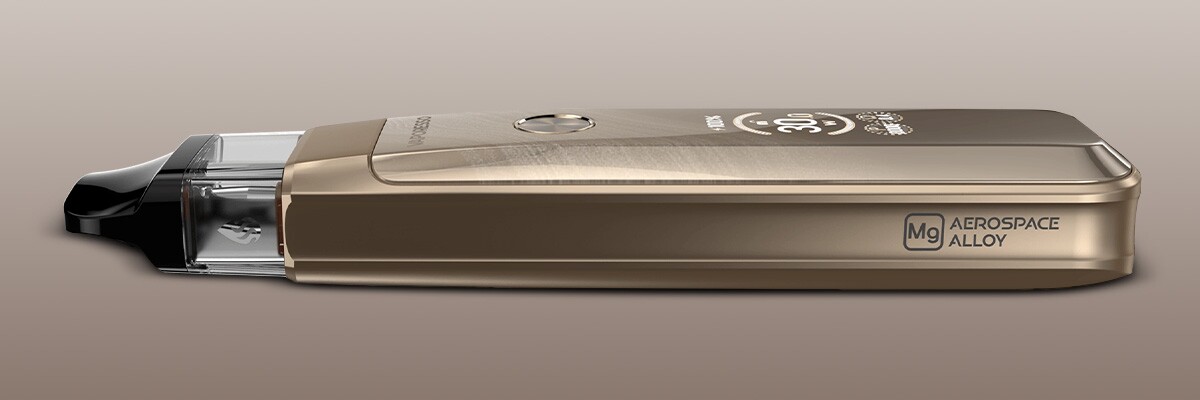
The Xros Pro 2 is one of the nicest-looking kits I’ve come across. The front of the kit features a small Vaporesso logo in a soft gold tone above the device’s single button. Underneath these is the screen that is invisible until you turn it on, adding to the simplicity of the design. On the back of the device you’ll find the adjustable airflow toggle, and on the base is the USB-C charging port.
The Pro 2 weighs 65g, making it over 20% lighter than the original Pro which weighed in at 84g. This is thanks to the device being made from aerospace alloy, which is both sturdy and lightweight. At the time of writing, there are seven colours to pick from. If you prefer classic finishes, try Black, Gold or Silver. For something a little bolder, there’s Dawn Purple, Moonlit Pink, Storm Blue or – my personal favourite – Gem Green.
How Easy Is It To Use The Xros Pro 2?
The Xros Pro 2 is very simple to set up: charge your device, fill the pod, turn the kit on and inhale to vape. For more control, you can then adjust the power level if you so choose. When you’re done, lock the device so it can’t be activated, for extra peace of mind when it’s in your bag or pocket.
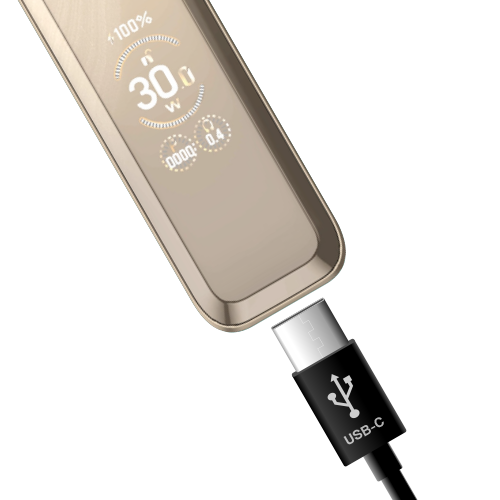
Charge Your Xros Pro 2
Use the included USB-C cable to charge your Xros Pro 2.
1
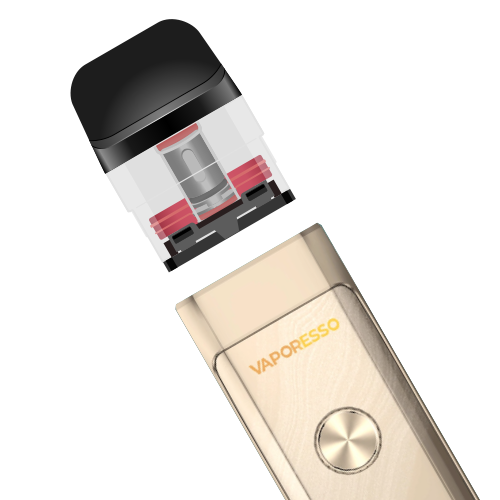
Remove Your Xros Pod
Take the pod out of the kit.
2
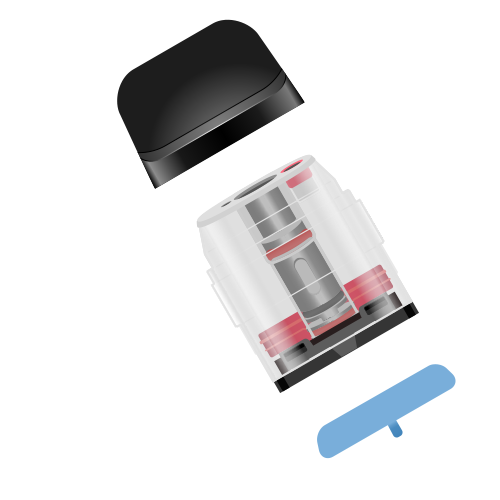
Prepare Your Pod
Remove the film from the base of the pod.
3
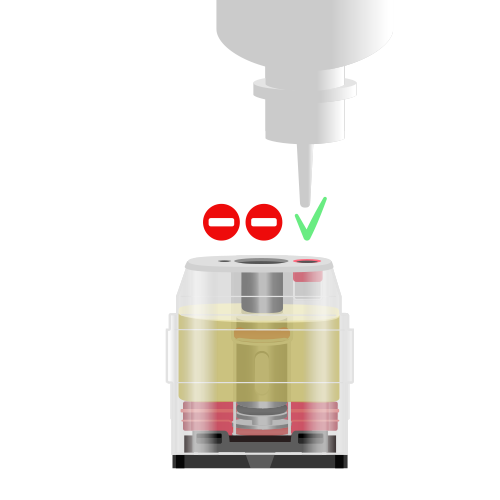
Fill Your Pod
Snap off the mouthpiece to access the red fill port and fill with e-liquid.
4
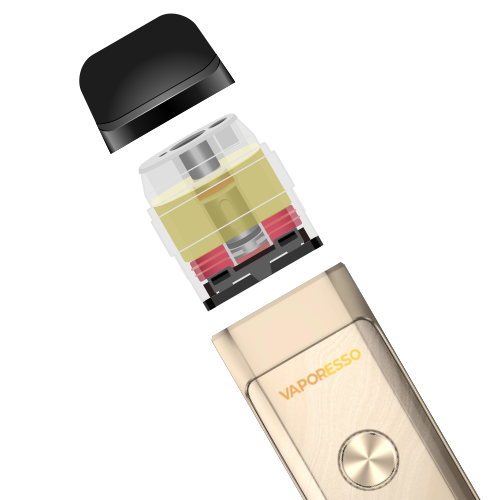
Insert Your Pod
Replace the mouthpiece and then slide the pod back into the device.
5
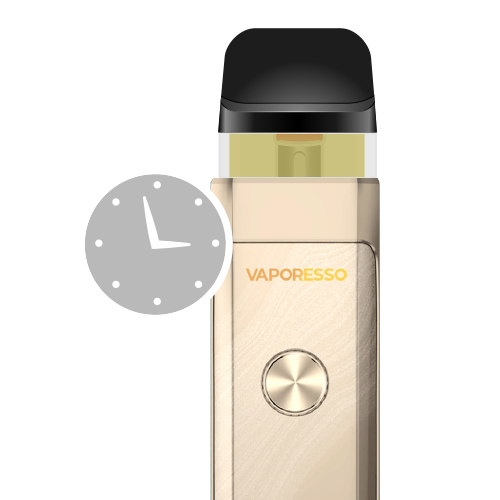
Prime Your Pod
Insert your pod and wait for ten minutes before vaping. This allows the e-liquid to fully soak into the cotton, improving flavour and coil longevity.
6
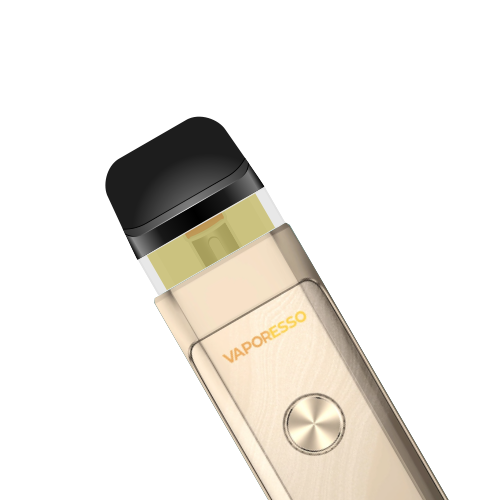
Vape Your Xros Pro 2
Inhale on the mouthpiece or press and hold the button to vape. Use the button to enter the menu to swap between Eco, Normal and Power Modes (or adjust the wattage if you’re using the 0.4 Ohm Xros pod).
7
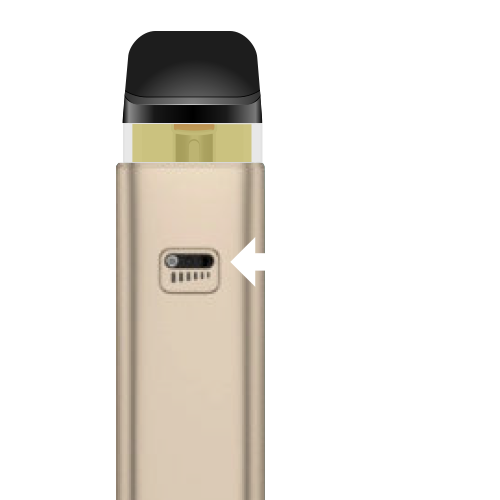
Adjust The Airflow
Use the slider on the back to adjust the airflow and experience a tighter or looser inhale.
8
What’s The Difference Between The Xros Pro And The Xros Pro 2?
Are you reading this guide because you’re wondering whether you should upgrade from the original Xros Pro to the Pro 2? Are you curious about what the differences between these two kits are? Here’s a comparison:
| Xros Pro 2 | Xros Pro | |
|---|---|---|
| Battery Size | 2000mAh | 1200mAh |
| Charging Time | 75 Mins | 45 Mins |
| Wattage Range | 5-30W | 5-30W |
| Power Levels | Eco, Normal, Power | Eco, Normal, Power |
| Airflow | Adjustable | Adjustable |
| Weight | 65g | 84g |
| Screen Themes | Six | None |
| Puff History | Yes | No |
| Compatible With | Xros Pods | Xros Pods |
The Xros Pro 2 boasts a built-in battery with a capacity 65% larger than the one found in the original model. It weighs less, and sports additional features like screen themes and a puff history viewer. However, it does take a little longer to charge (given the much larger battery).
What Is The Best Pod To Use With The Xros Pro 2?
The Xros Pro 2 comes with two pods in different resistances. The 0.4 Ohm option should be paired with high VG e-liquid. It will produce a large amount of vapour for a DTL (Direct To Lung) inhale. The 0.6 Ohm pod will create a lower level of vapour and should be paired with a 50% VG blend for an RDTL (Restricted Direct To Lung) inhale.
The Pro 2 is compatible with the full range of Xros pods. Pods housing higher-resistance coils, like the 1.2 Ohm and 1.0 Ohm pods, create less vapour and can be used for MTL (Mouth To Lung) vaping. If you’re figuring out where to start, the 0.6 Ohm and 0.8 Ohm versions are customer favourites (though personally I always go for the 1.0 Ohm pods).
How Do I Look After The Xros Pro 2?
The Xros Pro 2 is simple to look after – maintenance comes down to charging the battery and changing the pods.
The Battery
The screen will display your current battery level as a percentage, so it’s a lot more accurate than kits which use a simple colour LED to indicate low, medium and high charge levels. Charge your battery when it’s running low – this kit supports fast charging, so this can be done in around an hour.
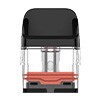
The Pods
Swap out your Xros pod when the coil inside needs replacing. You’ll know this has happened if the flavour starts to fade.
Our Expert Opinion About The Xros Pro 2
I think you’ve heard quite enough from me for now – what does the rest of the team think? They were looking forward to this kit’s arrival just as much as I was, and when I caught up with them, here’s what they said.
JoshThe Vaping Specialist
The original Xros Pro was really popular, so I was interested in seeing whether Vaporesso could outdo themselves. This kit doesn’t disappoint! The large battery means it doesn’t need to be charged too often, and I like the flexibility offered by the adjustable power levels.
MilesThe New Vaper Expert
The Xros Pro 2 is a great choice for beginners looking for a kit that can be customised more than your average pod kit. It’s simple to use, even if you’re brand new to vaping or have only ever used prefilled pod kits – and you can pair it with basically any e-liquid on the market.
Should You Buy The Xros Pro 2?
With the Xros Pro 2, Vaporesso really shows off everything they’ve learned in their decade of making vape kits. It’s small but sturdy, customisable but still simple to use, and with the range of Xros pod resistances available there’s something to suit every vaping style.
If that sounds like something you’d be interested in, I couldn’t recommend the Pro 2 highly enough. The additional features, such as puff history, screen themes and animations, make this kit stand out from the crowd.
The Xros Pro vape kit is made by Vaporesso, a brand known worldwide for its huge range of high-quality hardware. They’re absolute pros when it comes to vape kits, whether you’re after a powerful box mod like the Armour Max or a discreet option like the Eco Nano.
Vaporesso’s Xros Pro is the latest in their best-selling Xros series. This kit is particularly exciting, since the Xros 3 is my favourite pod kit and my most-used device. Fun fact: the Xros 3 is one of the most popular kits among Vape Club staff.
I couldn’t wait to get my hands on this kit for a thorough review – I bothered our Purchasing team about its due date so much I fear I may have irreparably damaged our friendship. But never mind that. Is the Xros Pro good enough to beat the tough competition found in the rest of the range? Will it become my new everyday vape? Read on to find out!
Who Is The Xros Pro For?
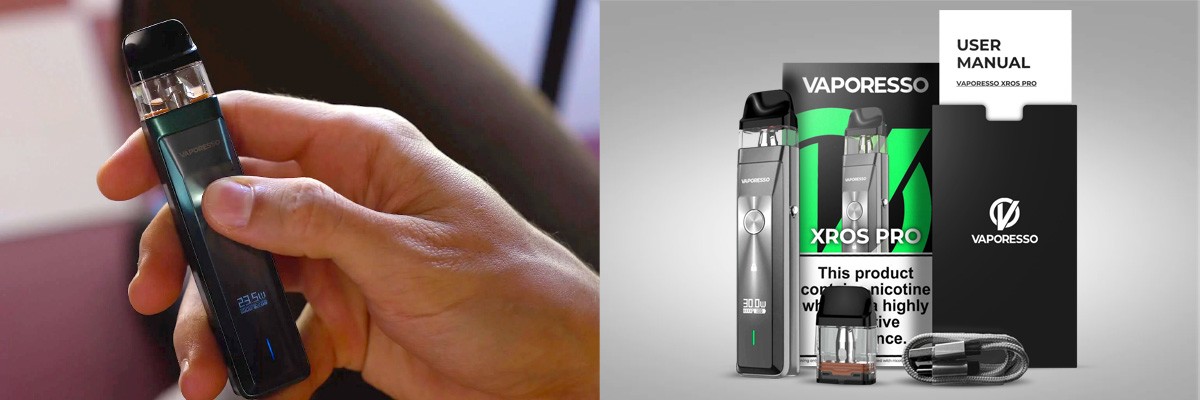
The Xros Pro is fundamentally a versatile kit. Thanks to the range of pods and features, this kit is ideal for anyone looking for a more customisable vape, as well as anyone after an easy-to-use MTL kit with an improved battery capacity.
It can be paired with the new 0.4 Ohm Xros Pro pod, as well as all existing Xros pods in resistances of 0.6, 0.8, 1.0 and 1.2 Ohms. Using the Pro pod, you’ll be able to adjust the power output up to 30W. With the standard pods, you can access a fixed-wattage Normal vape mode as well as battery-saving Eco mode or flavour-boosting Power mode.
How Does The Xros Pro Look And Feel?
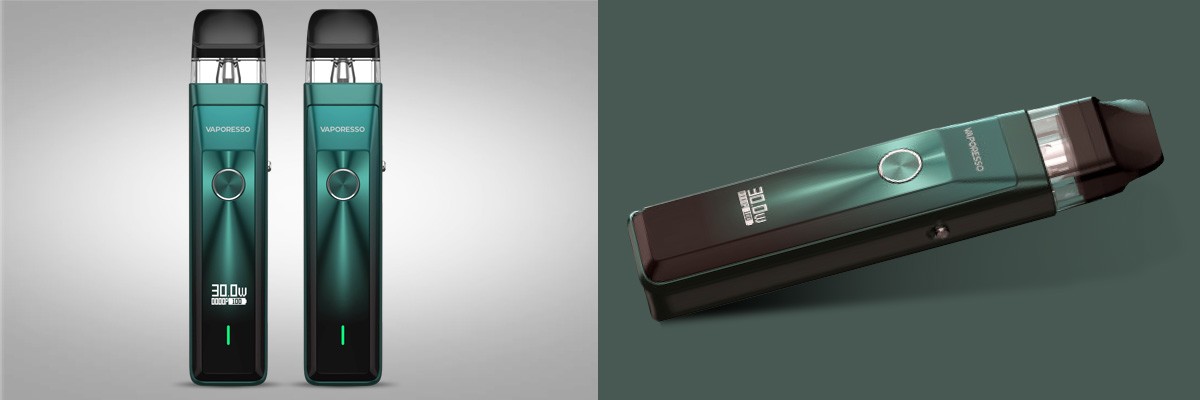
I am really impressed by the build quality of the Xros Pro. It’s a little heavier than the Xros 3, but it’s not unwieldy because it’s still so compact. Instead, it feels solid and sturdy. The power button is textured, the lock button is clicky and tactile, and the airflow slider is secure enough that it won’t slide about on its own.
The display screen, LED battery indicator and lock light are all housed seamlessly within the mirror-finished front. When the lights are off, you wouldn’t even know they were there – and when they turn on, it looks absolutely futuristic. To top it off, you can select from a wide range of colours, from sleek Black or Silver to bold Pink or Green.
How Easy Is It To Use The Xros Pro?
The Xros Pro boasts more features than most pod kits, that’s for sure. But, that doesn’t mean it’s difficult to use. All of the more advanced features, like wattage control or power modes, are essentially optional thanks to the device’s smart chipset. It’ll automatically select the best power output based on the pod you’ve inserted, so if you’re not interested in the more technical side of things you simply can let the kit take care of it for you!
If you do decide to adjust the wattage yourself, your kit will remember your chosen settings for that pod resistance. So, even if you’re swapping between pod resistances, your device will remember your preferences for each type and automatically adjust to match.
Charge Your Xros Pro Kit
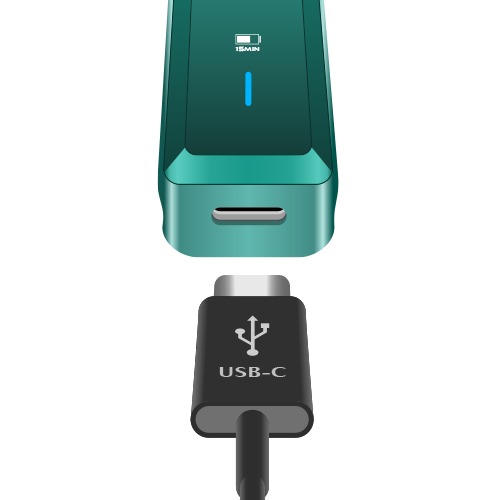
Your vape kit will usually arrive partially-charged. For best results, charge it before use. Using the included USB-C cable, you can fully charge your Xros Pro in about 35 minutes. The screen will display your battery’s charge level as well as how much charging time is left.
1
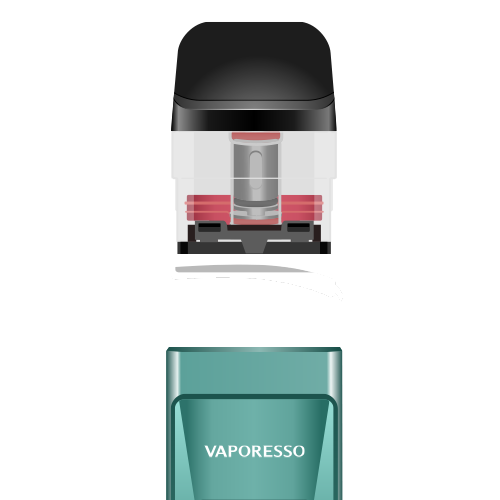
Prepare Your Xros Pro Pod
Take the pod out of the kit and remove the protective film from the base.
2
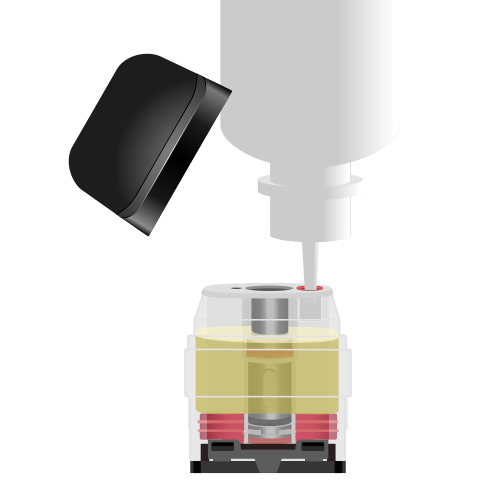
Fill Your Xros Pro Pod
Snap off the mouthpiece to access the fill port, marked with a red silicone ring. Fill the pod up with your e-liquid.
3
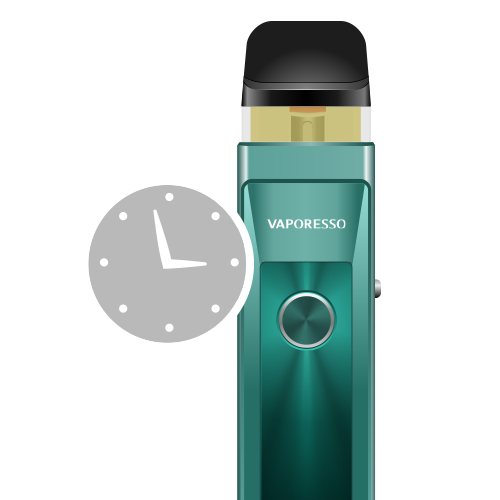
Prime Your Xros Pro Pod
Insert your pod into the device and then wait ten minutes before you start vaping. This important step is called “priming your coil”, and it allows your e-liquid to fully soak into the cotton which improves flavour and coil longevity.
4
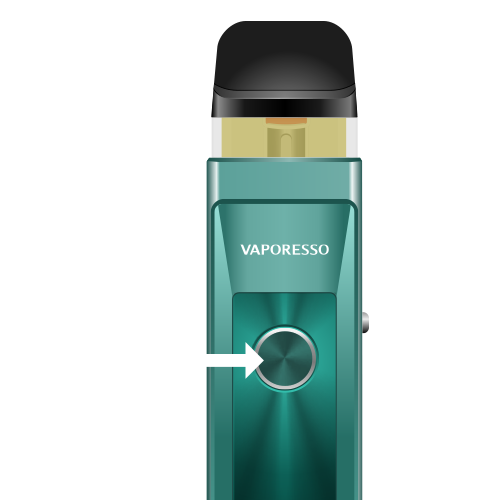
Switch Your Xros Pro On
Press the main button 5 times to turn on your vape kit.
5
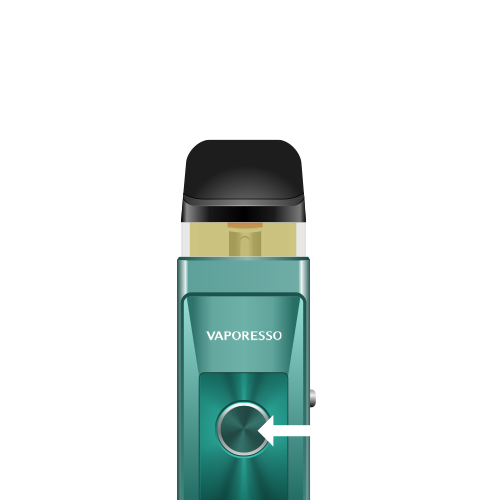
Vape Your Xros Pro
Inhale on the mouthpiece or press and hold the button to vape.
6
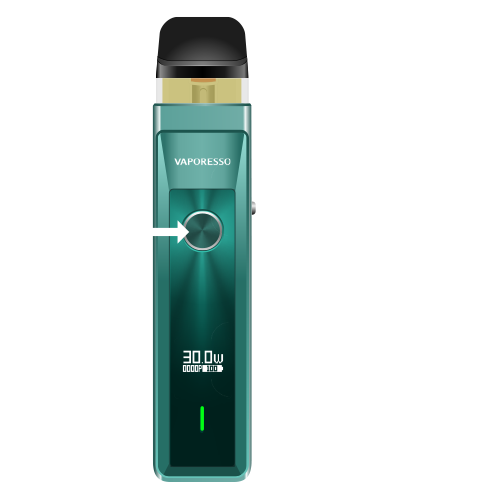
Adjust The Power Level On The Xros Pro
Your device will have automatically selected the best power level for your chosen pod. If you want to switch things up, you can press the power button three times to unlock wattage controls (if you’re using the 0.4 Ohm pod) or Eco, Normal and Power mode (if you’re using any other Xros pod).
7
What Is The Best Xros Pro Pod?
Because the Xros Pro is compatible with the brand new Xros Pro pods as well as the existing Xros pod range, you’ve got plenty of options to pick from!
If you pair the device with the new Xros Pro pods, you can adjust the power output up to 30W for a warm RDTL (Restricted Direct To Lung) or DTL vape, depending on how open or closed-off you keep the airflow switch. If you prefer a tighter draw, you’re better off with a higher-resistance standard Xros pod option, such as the 1.0 Ohm variant (my personal favourite). The standard Xors pods don’t allow for wattage adjustment, but they do allow you to use Eco, Normal and Boost modes.